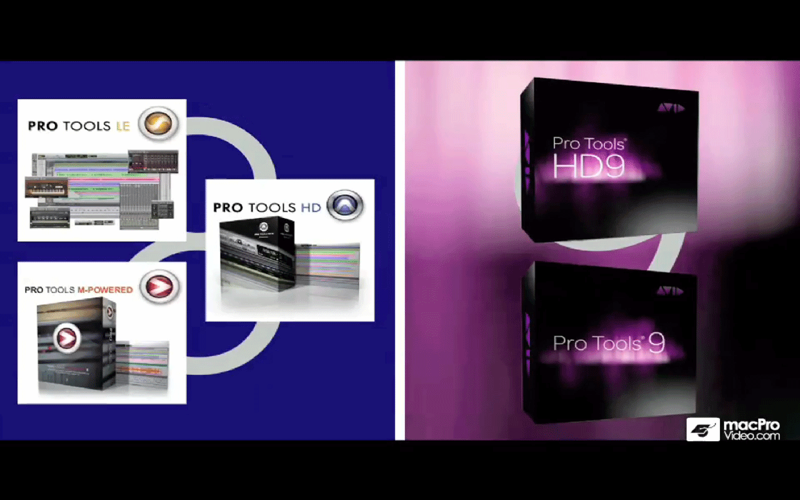
With the release of Pro Tools 9, Pro Tools now gives you a full recording studio in a box whether your on your laptop, in standalone mode, or using an HD rig!
Pro Tools is the platinum standard for working with digital audio. Now its amazing “tools” are available to everyone because Pro Tools “9” is all about flexibility and portability. You can start a session on your laptop in standalone mode. You can move the same session to an HD studio for overdubs. Then bring that same session to your home studio and hook up your Apogee interface or any other Core Audio or ASIO interface for more production and mixing!
In this tutorial "Pro Tools 9 101: Core Pro Tools 9," Scott Freiman leads you through all of the basics of working with Pro Tools - from recording and editing audio to using the MIDI and score editors.
And with Scott showing the way you will pick up scores of tips, tricks, and shortcuts while, at the same time, getting all the information you need to start immediately laying down professionally sounding tracks.
This tutorial will also show you how useful the Pro Tools MIDI editing features can be! Youll learn valuable tricks for recording and editing MIDI to make original compositions without resorting to other applications like Sibelius (and if you do use Sibelius, be sure to check out our Sibelius 101: Core Sibelius tutorial).
But of course, it would not be Pro Tools if we didnt cover recording and editing audio itself. Scott covers everything you need to know to make great music. From recording like a pro to mixing, from adding DSP effects to automating those effects so they evolve through time ... this tutorial will help you get the most out of Pro Tools!
Table of Contents
1.Welcome to Pro Tools 101
2.Pro Tools Versions
3.The iLok
4.Other Things Youll Need
5.Configuring Inputs and Outputs
6.Working With Sessions
7.The Edit Window
8.The Mix Window
9.Saving Your Session
10.A Quick Look at Digital Audio
11.Understanding Gain Stages
12.Setting Up to Record
13.Configuring a Track for Recording
14.Creating a Click Track
15.Recording a Track
16.Punching In
17.Coloring and Naming
18.Zooming with Tracks
19.Track Organization and Visibility
20.Duplicating and Deleting Tracks
21.Rulers and Counters
22.Selecting Things
23.Linking Selections
24.On the Move
25.More Playback Options
26.Scrolling
27.Command Focus
28.The Grabber Tool
29.Slip, Spot, and Shuffle Modes
30.Grid Mode
31.The Trim Tool
32.The Smart Tool
33.Creating Fades
34.Creating Crossfades
35.Deleting Fades
36.Zooming
37.Zoom Toggle
38.Scrubbing
39.A Quick Look at MIDI
40.MIDI in Pro Tools
41.Setting Up Your MIDI Rig
42.Setting Up MIDI In and Out
43.Our First MIDI Recording
44.Setting Up a Virtual Instrument
45.Recording a Virtual Instrument
46.Recording with MIDI Merge
47.Step Input Setup
48.Entering Notes with Step Input
49.Setting Step Controls
50.Automating MIDI Controls
51.Mapping a MIDI Control
52.MIDI in the Edit Window
53.Track Colors in the Split Edit Window
54.Viewing in the Split Edit Window
55.Working in Split Edit Mode
56.Scrolling in Split Edit View
57.Using the MIDI Editor
58.Pencilling in MIDI Notes
59.Advanced MIDI Note Penciling
60.Pencil Tools Overview
61.Moving MIDI Notes
62.Editing MIDI Notes
63.Editing MIDI Notes by Value
64.The MIDI Smart Tool
65.Editing MIDI Automation
66.The Pro Tools Mixer
67.Inserts
68.The Plug-In Window
69.Busses
70.Reverb Sends
71.Chorus Sends
72.The Master Track
73.Using Multiple Master Tracks
74.Setting Up a Headphone Mix
75.Groups
76.Modifying Groups
77.Recording Automation
78.Automation Modes
79.Automating Plug-Ins
80.Editing Automation
81.Bouncing to Disk
82.Converting MIDI to Audio


